

In this short blog, we'll discover how to get started with Spring AI and Ollama for interacting with local LLMs.
Before we get started, let me briefly introduce Spring AI project and Ollama.
Spring AI is a project aimed at providing capabilities like integrating LLMs, RAG and using vector databases in Java applications. It draws inspiration from popular frameworks LangChain and LlamaIndex.
Ollama lets you run open-source LLMs locally on your machine.
Step 1 : Install and Setup Ollama
To begin with, we'll first install and setup Ollama on our machine. Installation is quite straight-forward, so head over to Ollama's website and complete the installation.
There are ample large language models available with Ollama.
For this example, we'll use dolphin-phi as it takes the least amount of space on our machine.
Now to run this model locally, Open terminal on Mac and run below command.
ollama run dolphin-phi
This will run the model locally. Under the hood, Ollama creates a docker container with this model and runs it.
We're done with this step, so let's proceed further.
Step 2 : Bootstrap Spring Boot project
Now, head to Spring Initializr and make sure to add below dependencies in your project.
Spring Web - Build web, including RESTful, applications using Spring MVC. Uses Apache Tomcat as the default embedded container.
Ollama - Spring AI support for Ollama. It allows you to run various Large Language Models (LLMs) locally and generate text from them.
I'm using Maven, but you can use whatever you like.
Next, we need to add some properties for configuring Spring AI and Ollama in our application.
Add below properties in application.properties
spring.application.name=ollama-ai

spring.ai.ollama.base-url=http://localhost:11434

#you can use whatever model you like
spring.ai.ollama.chat.options.model=dolphin-phi

#this is optional
spring.ai.ollama.chat.options.temperature=0.7
spring.ai.ollama.chat.options.model is used to select the model for interacting. By default, it uses Mistral.
spring.ai.ollama.chat.options.temperature is used to control the randomness of output from the LLM.
Now we're done with the basic configuration, let's go to next step.
Step 3 : Create RestController with OllamaChatClient
Create a RestController with an OllamaChatClient implementation that we can inject into our class.
Here is an example of a simple @RestController class that uses the chat client for text generations.
@RestController
public class HelloOllama {

    private final OllamaChatClient ollamaChatClient;

    public HelloOllama(OllamaChatClient ollamaChatClient) {
        this.ollamaChatClient = ollamaChatClient;

    }

    @GetMapping("/ai/helloollama")
    public String generate(@RequestParam(value = "message", defaultValue = "Tell me a joke on love") String message) {
        return ollamaChatClient.call(message);
    }
}
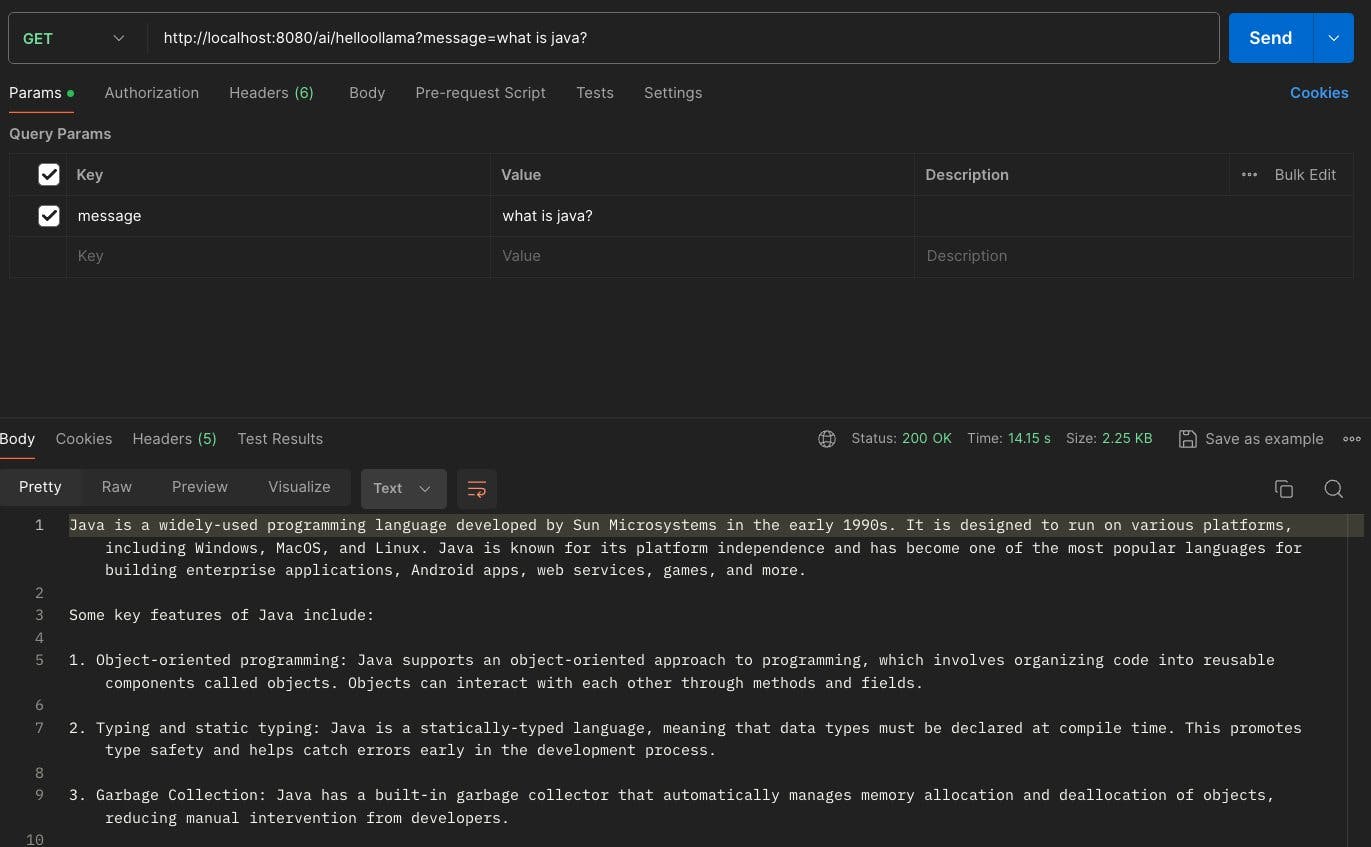
And it's done, we can now run the application and test this endpoint using curl http://localhost:8080/ai/helloollama or Postman to check if it's working as expected.
And we're done, it's that simple to integrate LLMs & AI capabilities in your application using Spring AI.
You can check out the complete code for this example here.
Hope you guys liked it, see you in the next one.